13th-Century Padded Garment (Patterns)
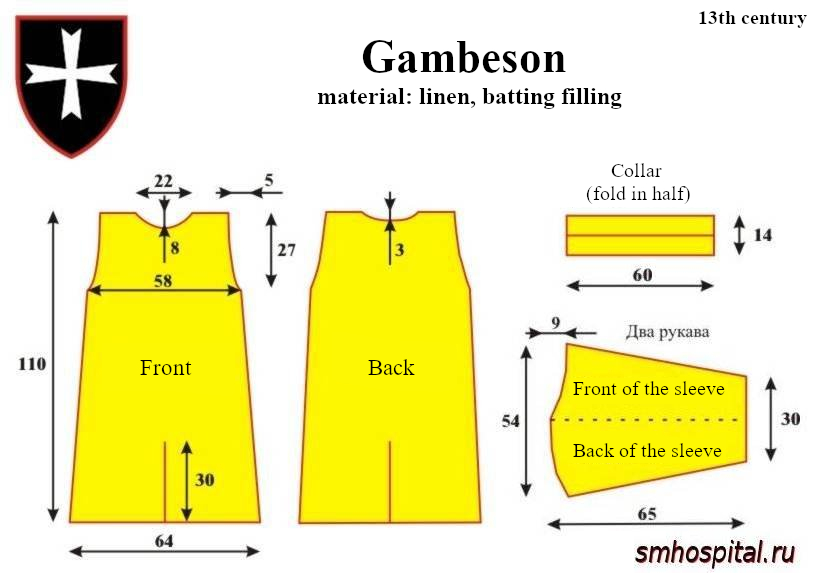
Image: Patterns for a 13th-century padded garment.
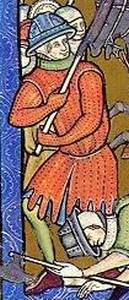
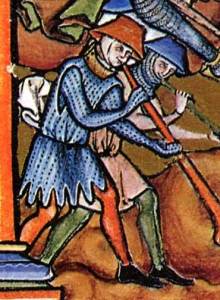
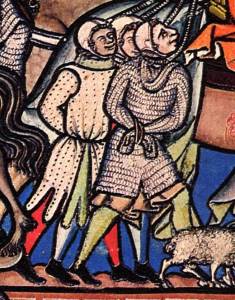
Image: Miniatures from the Maciejowski Bible, c. 1250.
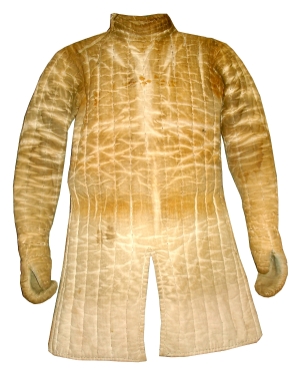
Image: The finished padded garment.
Construction requires an average of 10 m of fabric (linen or cotton), 10 m of batting, and thick linen thread.
Construction steps:
1) Rinse the fabric (linen or cotton) in warm water and dry it (the fabric shrinks significantly after washing).
2) Cut the material according to the patterns: leave a 5 cm seam allowance on the fabric; cut the batting exactly to the pattern size.
Required number of pattern pieces:
- Body: 2 fabric pieces for one side and 2 for the other; 5–6 layers of batting per side.
- Sleeves: 6 fabric pieces and...
3) Mark parallel lines on the outer fabric pieces using soap
- For the body: vertical lines spaced 4–5 cm apart
- For the sleeves: lengthwise lines (running from shoulder to wrist), spaced 4–5 cm apart
- For the collar: mark a line down the center lengthwise to divide it in half; then, on each half, mark 2 horizontal lines running lengthwise, spaced equally from the center and the edges
- Body: assemble as a "sandwich"—fabric without markings, 5–6 layers of batting, fabric with markings
- Sleeves: two layers of fabric (outer layer with markings and inner layer without), 4–5 layers of batting (the right sleeve may be reinforced), and fabric without markings.
This method uses two layers of fabric on the upper part of the sleeve for added durability, as experience shows that sleeves tear most frequently.
- Collar: fold the collar fabric in half and insert the batting so that it is enclosed between the fabric layers.
6) Quilt by hand using linen thread (or twine). Stitch length: 1 cm.
Sew the quilted pieces together in the following order:
7) Sew the body halves together at the shoulders, then along the sides, starting from the armpits.
8) Sew the sleeve.
9) Attach the sleeves without turning the sleeves or body right-side out (i.e., keep them inside-out). Sew from the shoulder down to the armpit using strong thread; otherwise, the sleeve will quickly tear off.
10) Attach the collar without turning the body right-side out, positioning the opening at the side (usually on the right). Alternatively, the collar can be left separate; judging by miniatures, it appears it was not always sewn to the gambeson.
11) Make a slit at the bottom of the body (marked as 30 cm on the pattern).
12) Bind the bottom edge of the gambeson and the sleeves with a strip of fabric.
13) Bind the seams on the inside of the gambeson.
14) Attach ties or buttons to the collar.
15) Turn the gambeson right-side out.
16) Sew the mittens to the gambeson (these are made separately)—in the 13th century, mittens were almost always sewn on.
All quilting and sewing must be done by hand.
Note: Making a gambeson is not as difficult a process as it might seem; it takes about one or two weeks without strenuous effort.
Comments (53)
Если шить толстой льняной нитью - то проще всего использовать шов "вперед иголкой".
Лучше конечно плотный лен или же хлопок (ткань двунитка). Зависит от региона, который вы реконструируете.
Можно и мешковину попробовать - хотя смотря какую и на какой статус стеганка.
All comments